Sing Blue Silver - a bespoke ring
It can be a bit challenging to understand what exactly it takes here in our workshop to create a piece of jewellery. It’s always interesting to get a look behind the scene and in this article you will get just that as I take you on the journey from sketch to finished custom made piece.
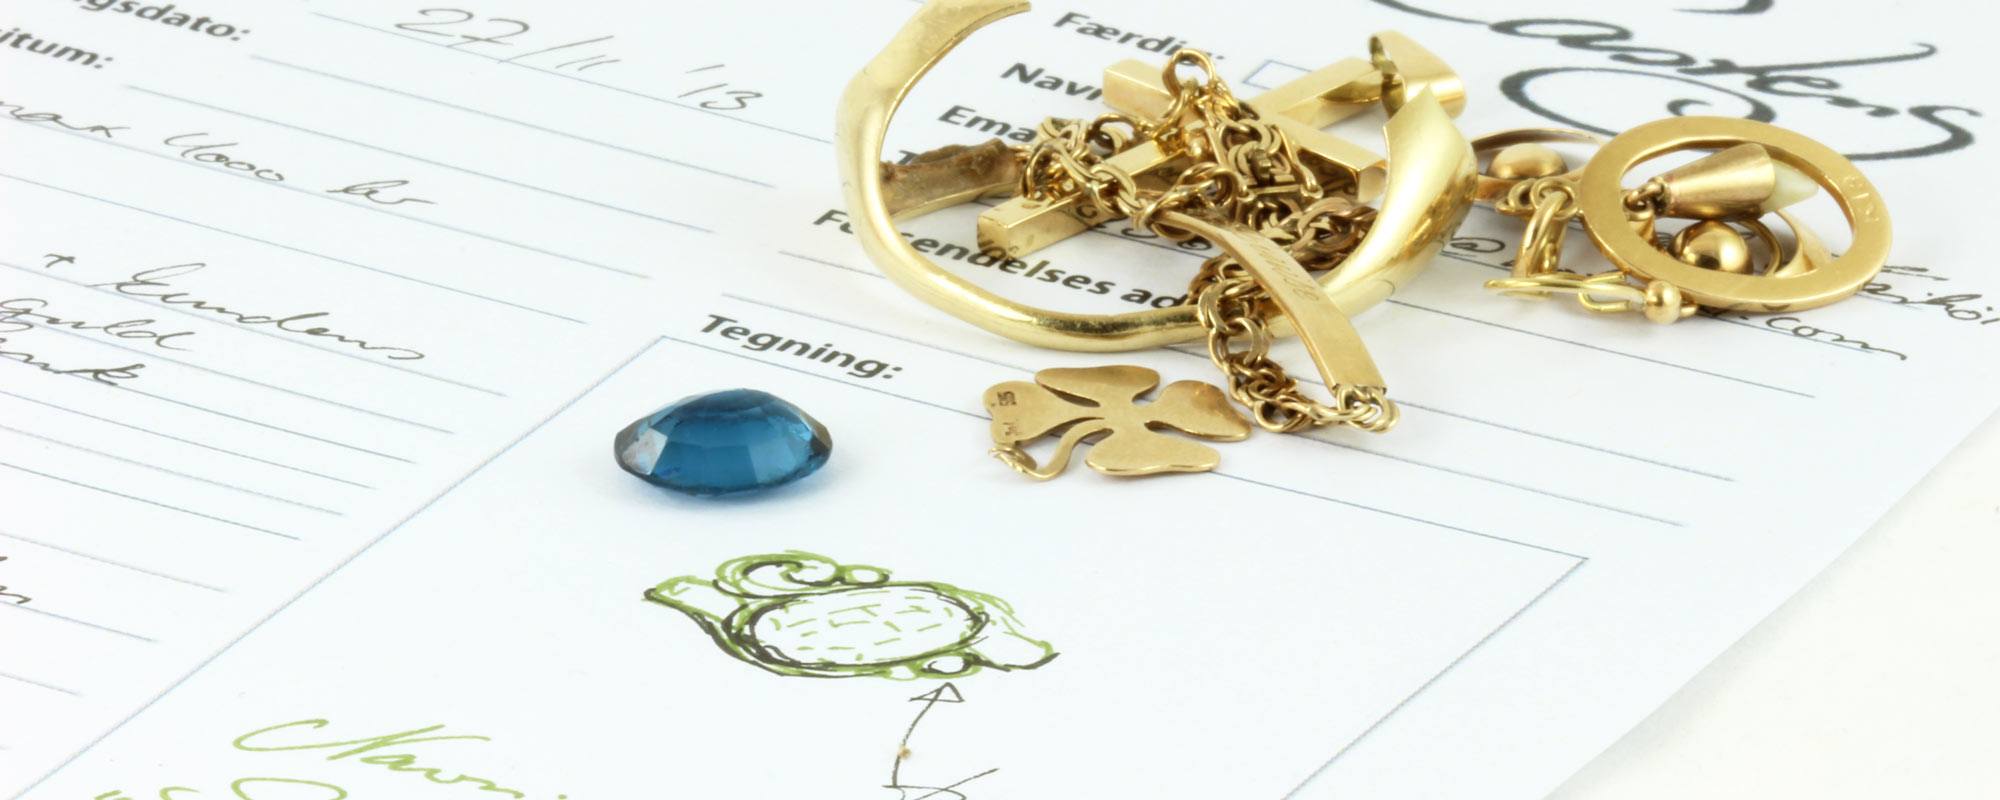
A few years ago, this customer came to me with a request to have her old heirloom jewellery redesigned into a new ring, which fitted her taste and personal style. The old ring was a 40’s design and featuring a large and rather beautifully colored gemstone. It had been worn every day by her mother and that showed: The facets had been worn soft and the gem had lost its luster. However, when I removed it from its setting and turned it over, a whole new gem showed itself to us: Suddenly the facets were crisp and if set upside down in the new piece, this would become a very unusual ring with a uniquely cut gem.
I set about to sketching designs which would showcase this lovely stone, while reusing the gold of the original ring. My customer brought more inherited gold than was needed, especially since she preferred a combination of silver with only accents of gold.
I chose to melt everything down
-and cast it into a small, chubby sheet
Which was milled down to a more useful dimension
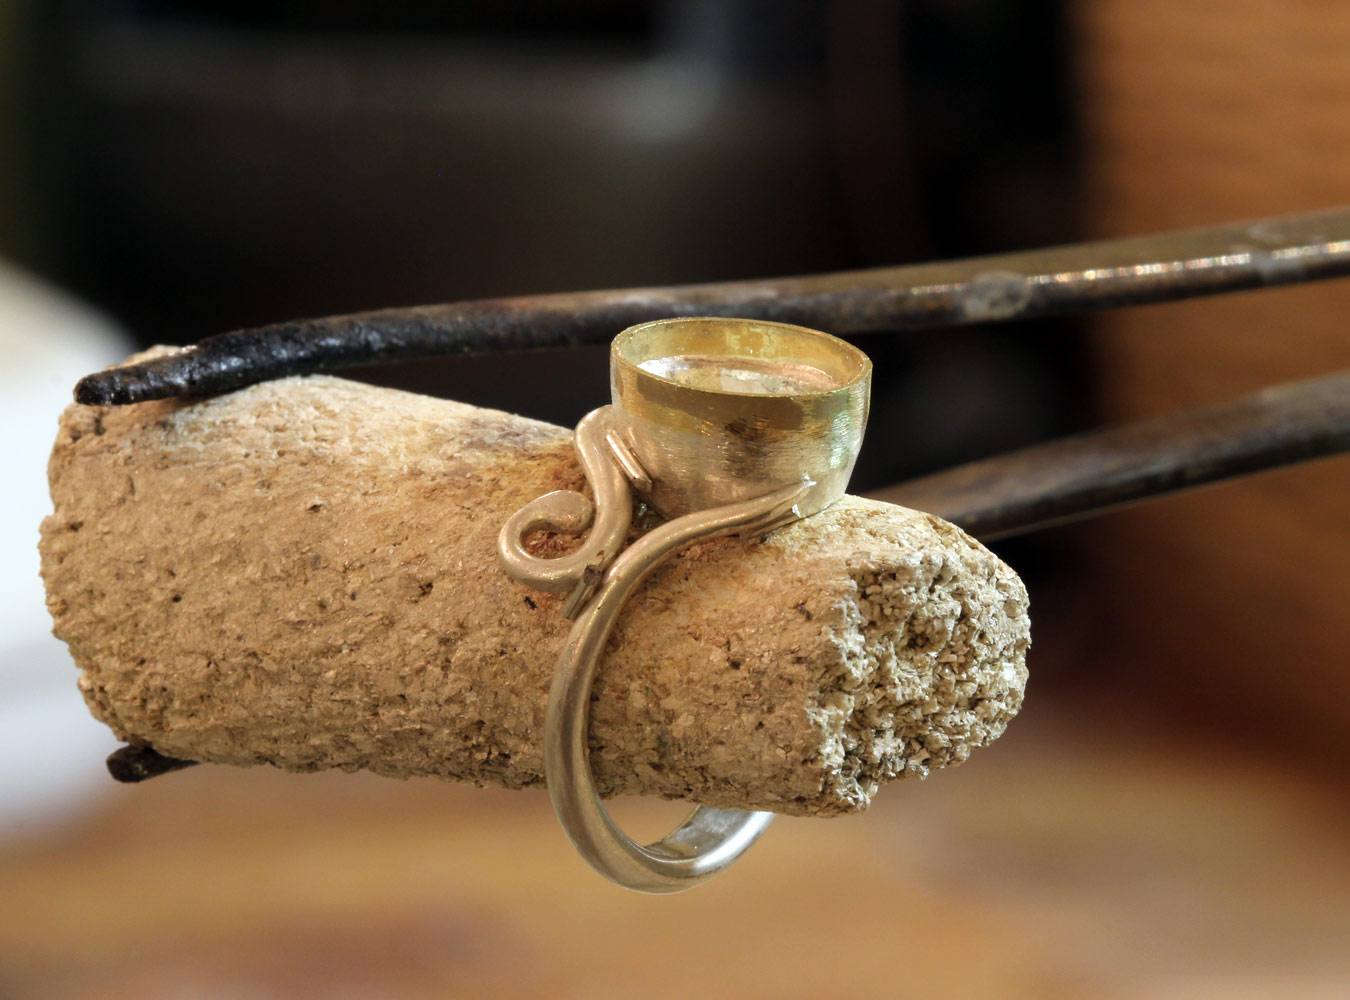
A piece of thick-walled tubing served as the base of the setting
It was shaped oval and forged tapered

Then some of the gold was shaped into a brim to rest on top of the cone, ready to encircle the gem
It is a trademark of mine to place oval stones diagonally on the finger, and so I filed the bottom of the setting accordingly
Now for the ring shank: A piece of oval silver wire was first milled stepwise smaller and smaller and then filed smoothly tapered
By melting the tip of it, a delicious drop emerged and served as the delicate starting point of the tendril, smoothing itself around the base of the setting
After much adjusting, the shape was right and the ring and setting were soldered together with silver solder - the small pieces of wire you see here
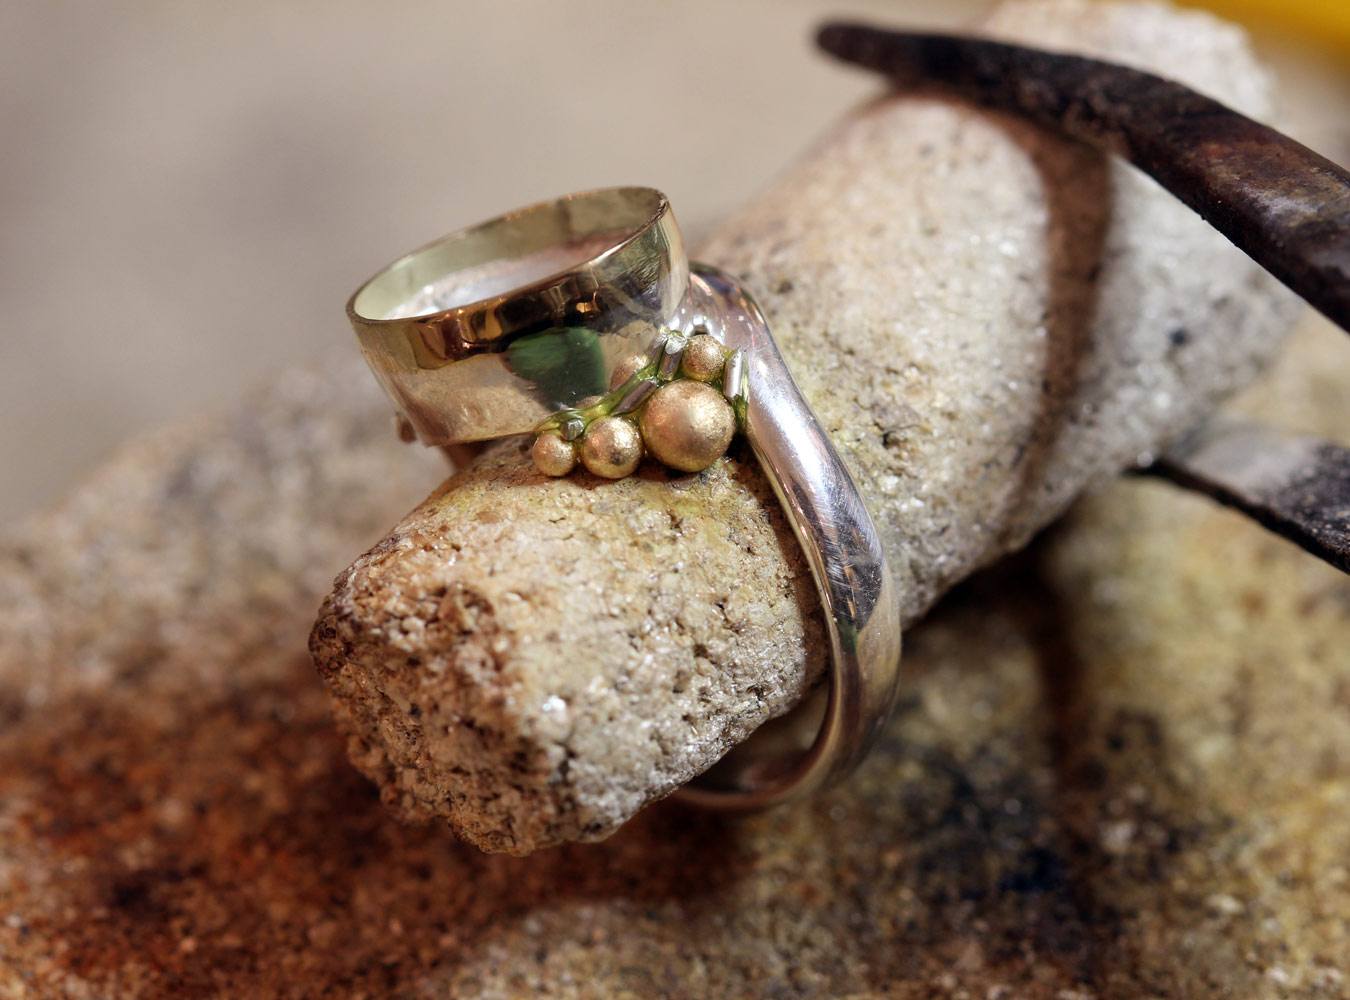
Another trademark of mine is the use of bubbles. I love them, because they lend life to the design – much like champagne wouldn’t be the same without its lively bubbles. The spheres are created by melting tiny pieces of gold, which naturally draws up on to itself in order to find its new shape
Now I arranged the bubbles. This stage takes time and an artistic eye. My designs are fluid and asymmetrical, but never out of balance. The bubbles play a vital role in balancing out the design correctly and often it takes quite a bit of fiddling around before I am satisfied by the arrangement
The last solder is done; the ring has soaked in hot acid to remove stains from the process and has had its initial polish. Now for adjusting the setting in order to fit the gem perfectly. With a setting burr I grind a seat for the stone
And repeatedly test if it fits without rocking
Perfect fit! Now I carefully push the brim of the gold over the edge of the stone in order to hold it securely
A small, green tzavorite garnet is to play the role as the cheeky companion of the lead actor and so I grind a seat for it into one of the larger bubbles
And set the vivid gem
After a last polish, here is the result, baptized “Sing Blue Silver”, which my customer had engraved on the inside of the ring

Creating handcrafted jewellery takes talent, patience and time – and a lot of love for the trade, which is luckily bountiful here in our shop!
See more handcrafted rings with each their personality here
Or, if you feel inspired to have your own heirlooms redesigned into a 100% personalized piece of jewellery, book a design meeting. We can do this by email, phone or Skype.

 RSS Feed

