

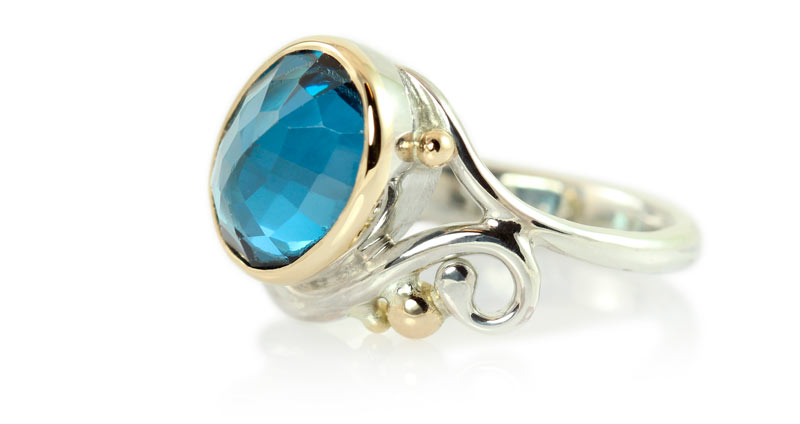
A couple of years ago, my client approached me with a wish to transform her heirloom into a new ring that reflected her taste and personality. The old ring was from the 1940s with a large and very beautiful blue gemstone. It had been worn daily by her mother, and it showed: the facets had become worn smooth and the stone had lost its sparkle. But when I removed it from the ring, it turned out that the reverse side was still uncommonly beautiful.
We therefore chose to build the design around the stone, with the reverse side facing outwards, which resulted in a very unusual ring with a truly special faceted gemstone.
I drew a series of designs which not only highlighted the beautiful stone but also reused the gold from the original ring. My client had brought more inherited gold than was needed, as she preferred a combination of silver with just accents of gold.
This excess gold helped to pay for the ring and was melted down.

And cast into a small thick plate.

– Which was rolled down to a more usable dimension

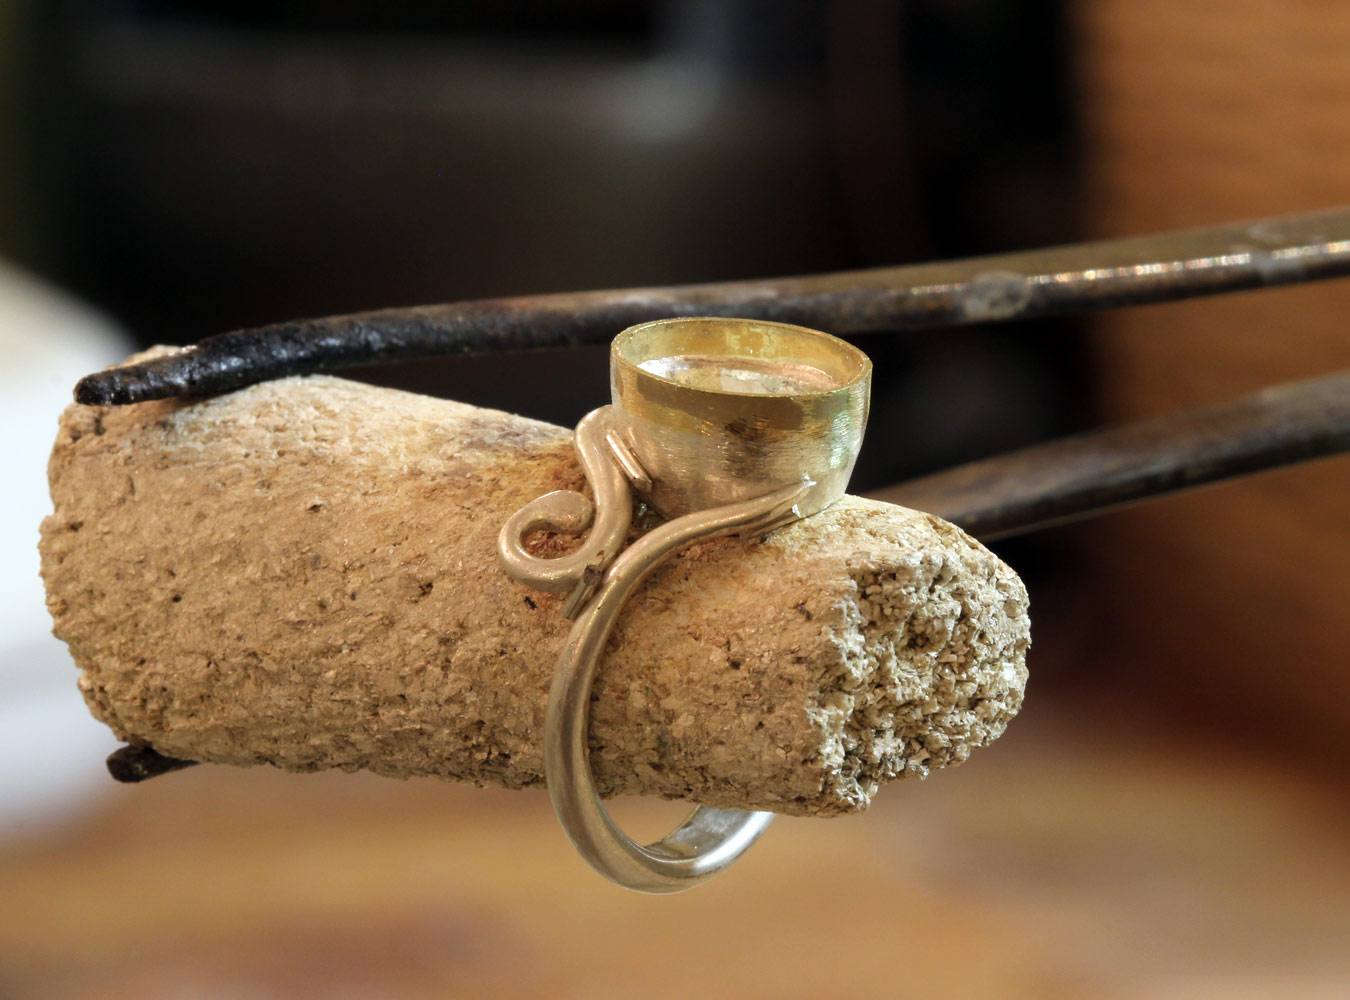
As the base of the fitting, I cut a piece of tubing from heavy silver

Which was forged oval and conical in a swaging block


So I shaped some of the gold into a bezel that rested on top of the setting, ready to encompass the stone

It's one of my hallmarks to place oval stones diagonally on the finger, which is why I filed the bottom of the setting curved so that it would rest at the correct angle on the finger.

Now, to the ring itself: A piece of oval silver wire was first rolled progressively smaller and then filed evenly to a point.

By melting this tip, a delicious drop appears, which most beautifully began the curl that nestles close to the setting.

After much adjustment, the shape was exactly as it should be and the ring and its setting were soldered together with solder (the small pieces of wire you can see in the picture here).
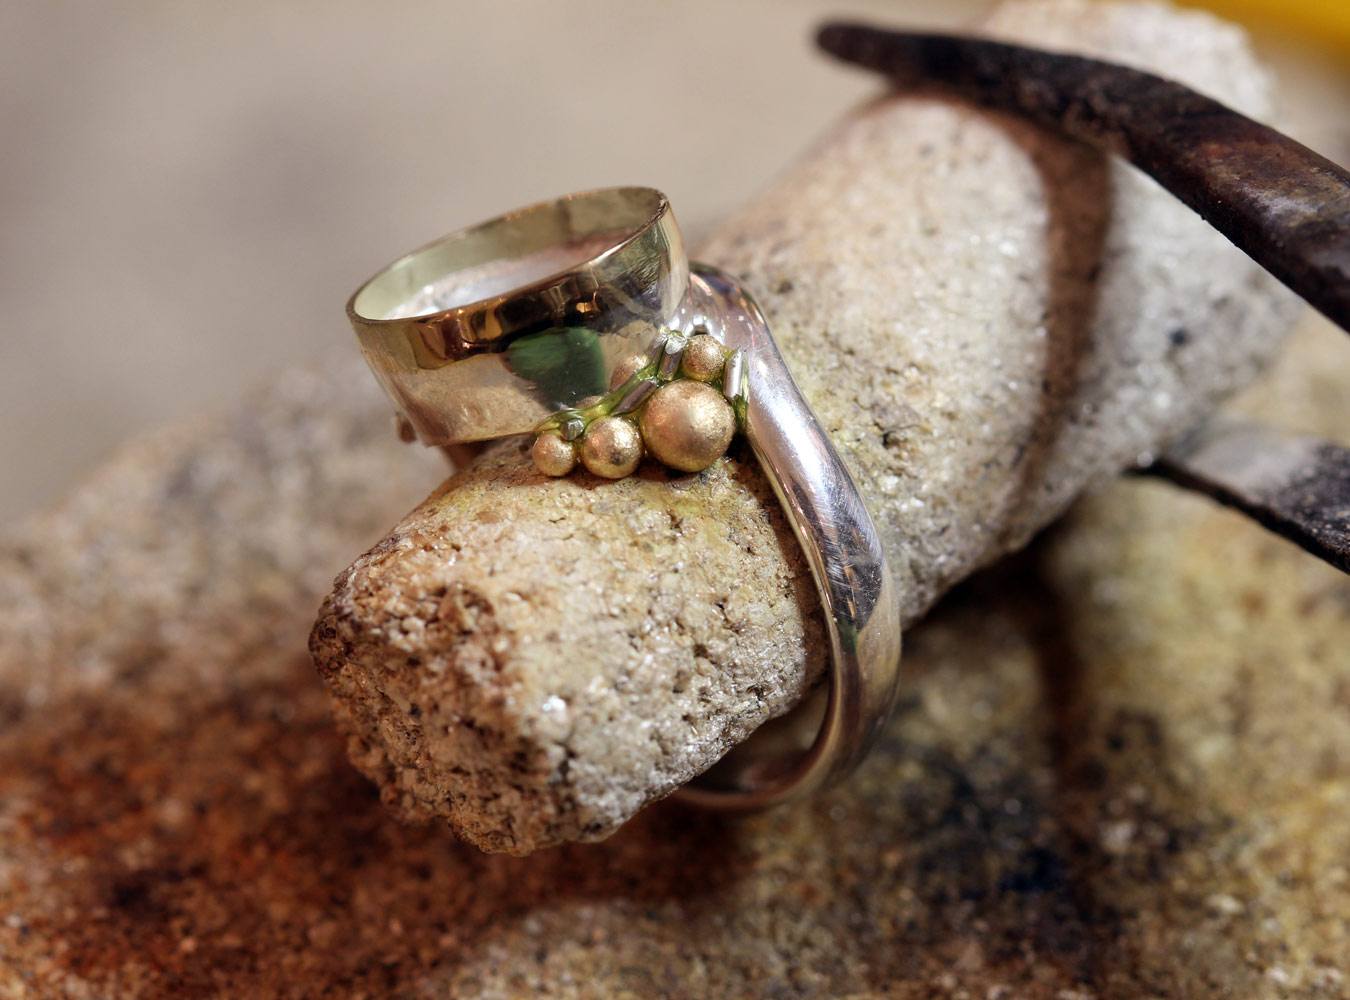
Another of my other trademarks is the use of bubbles. I love them because they bring a bit of life to the design – a bit like champagne wouldn't be the same without those lively bubbles. The spheres are created by melting small pieces of gold – which naturally causes the metal to contract into its new shape.

I then arranged the bubbles. This phase takes time and a certain artistic flair. My designs are fluid and often asymmetrical, but never unbalanced. The bubbles play a crucial role in balancing the design correctly and often require quite a few adjustments before I am satisfied with the arrangement.
Once the final soldering was complete, the ring was immersed in hot acid to remove any residue from the process and received its first polish. Now it was time to adjust the setting so that it would fit the stone perfectly: with a file, I smoothed off the burr so it was completely level, and with a setting burr, I milled a smooth seating edge for the stone.

– And tested repeatedly if it fits without wobbling

Perfect fit! Now I carefully pushed the golden part of the setting's edge over the stone's sides

A small, green tsavorite garnet was cast as the cheeky companion to the leading lady, so I carved out a seat for it in one of the larger gold bubbles

And the little stone understood

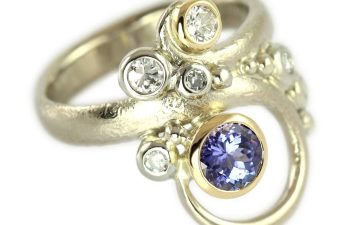
After a final polish, here is the result, which my customer christened ”Sing Blue Silver,” which she also had hand-engraved on the inside of the ring.


Creating a handmade piece of jewellery requires talent, patience and time – and a whole lot of love for the craft, which fortunately we have in abundance here at the shop!
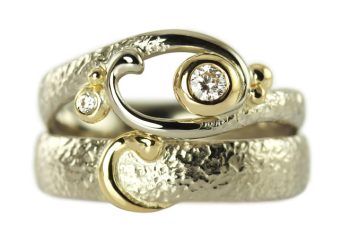
See more handmade rings, each with its own personality here
Or, if you’re feeling inspired, book an appointment to find out how I can turn YOUR heirloom gold into a 100% piece of personalised jewellery.
Blog categories